


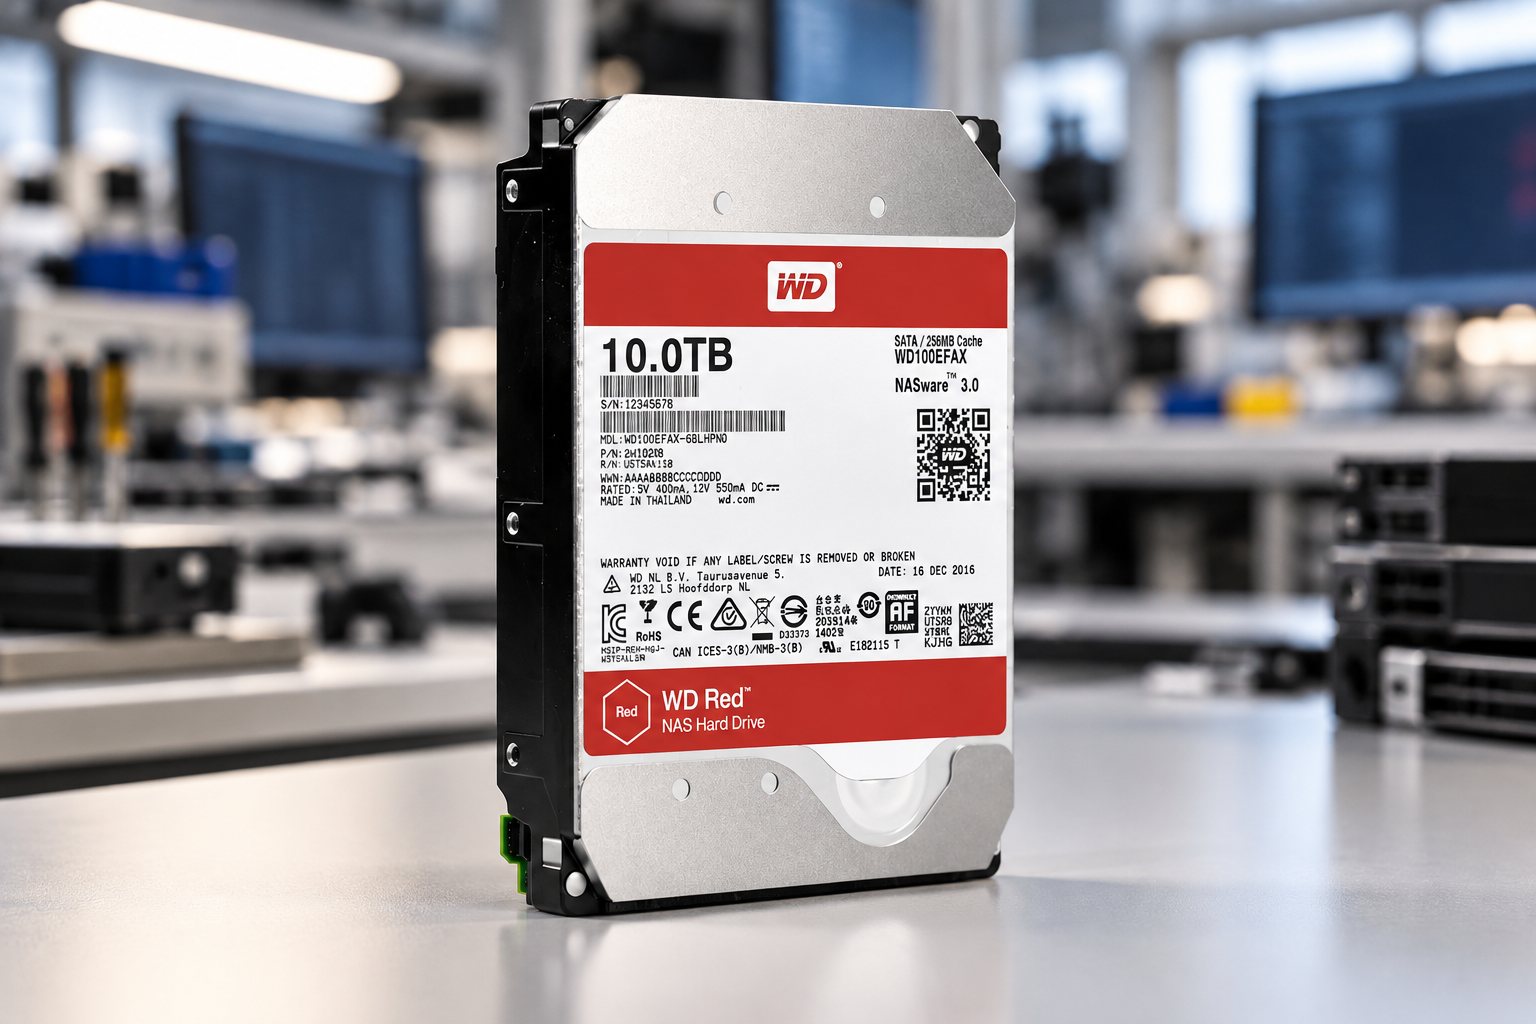
Inside a Challenging Recovery: Western Digital WD100EFAX-68LHPN0 Helium Drive with a Forgotten ATA Password
Some time ago, a Western Digital WD100EFAX-68LHPN0 helium hard drive was brought to our company. Its user was unable to access their files. Since the drive is a newer-generation model and is not supported by commercial software, we had to find a solution…
After extensive research into the problems associated with such cases, we are pleased to present the solution — to the satisfaction of both us and the client :)
The procedure is described step by step below:
Step 1 – Checking Drive Access
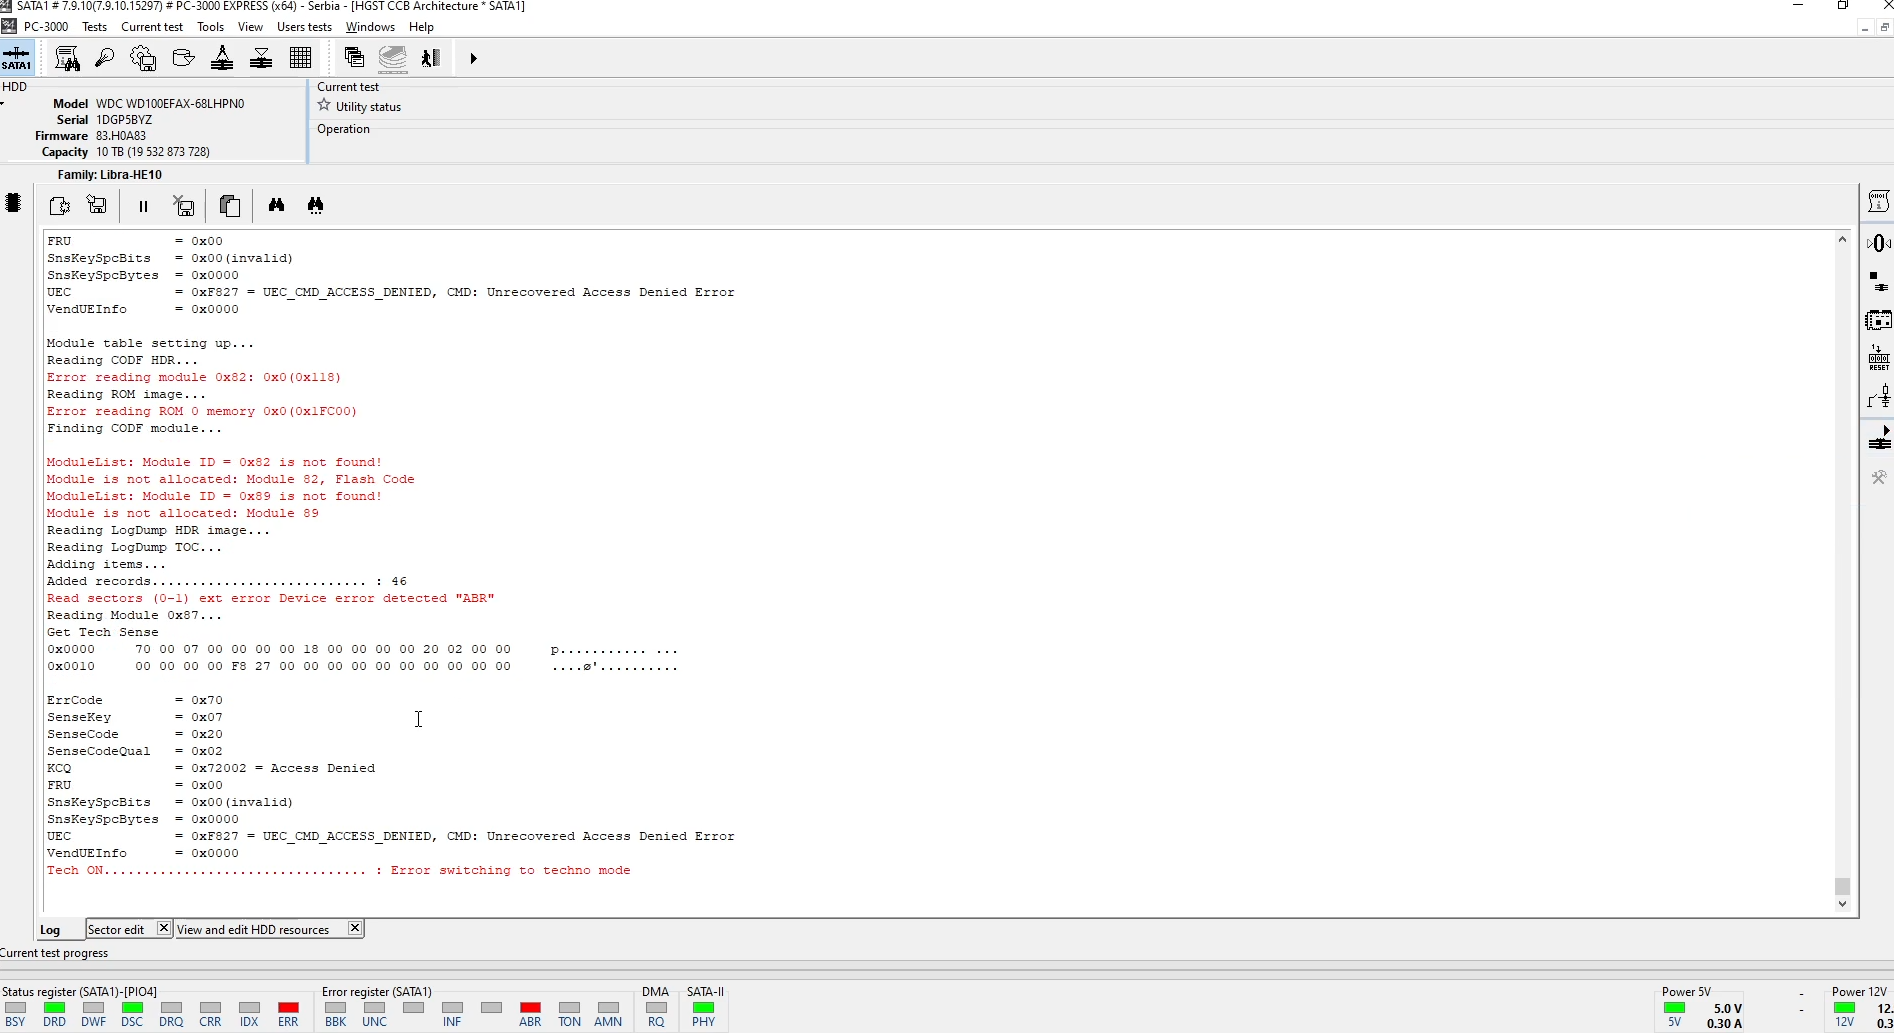
During the diagnosis, we determined that the drive was locked with an ATA password. How and why the password was set is not the subject of our investigation. It may have been set by some software, by the computer’s BIOS itself, or during the assembly of the computer. This is not the subject of this investigation. We launch the Utility, check LBA access and FW access, issue the Tech ON command, and see that we have no access to anything.
Step 2 – Preparing the ROM File
The solution we will present in the first step involves modifying the ROM chip. The ROM chip was read using standard methods, so we will not cover that here.
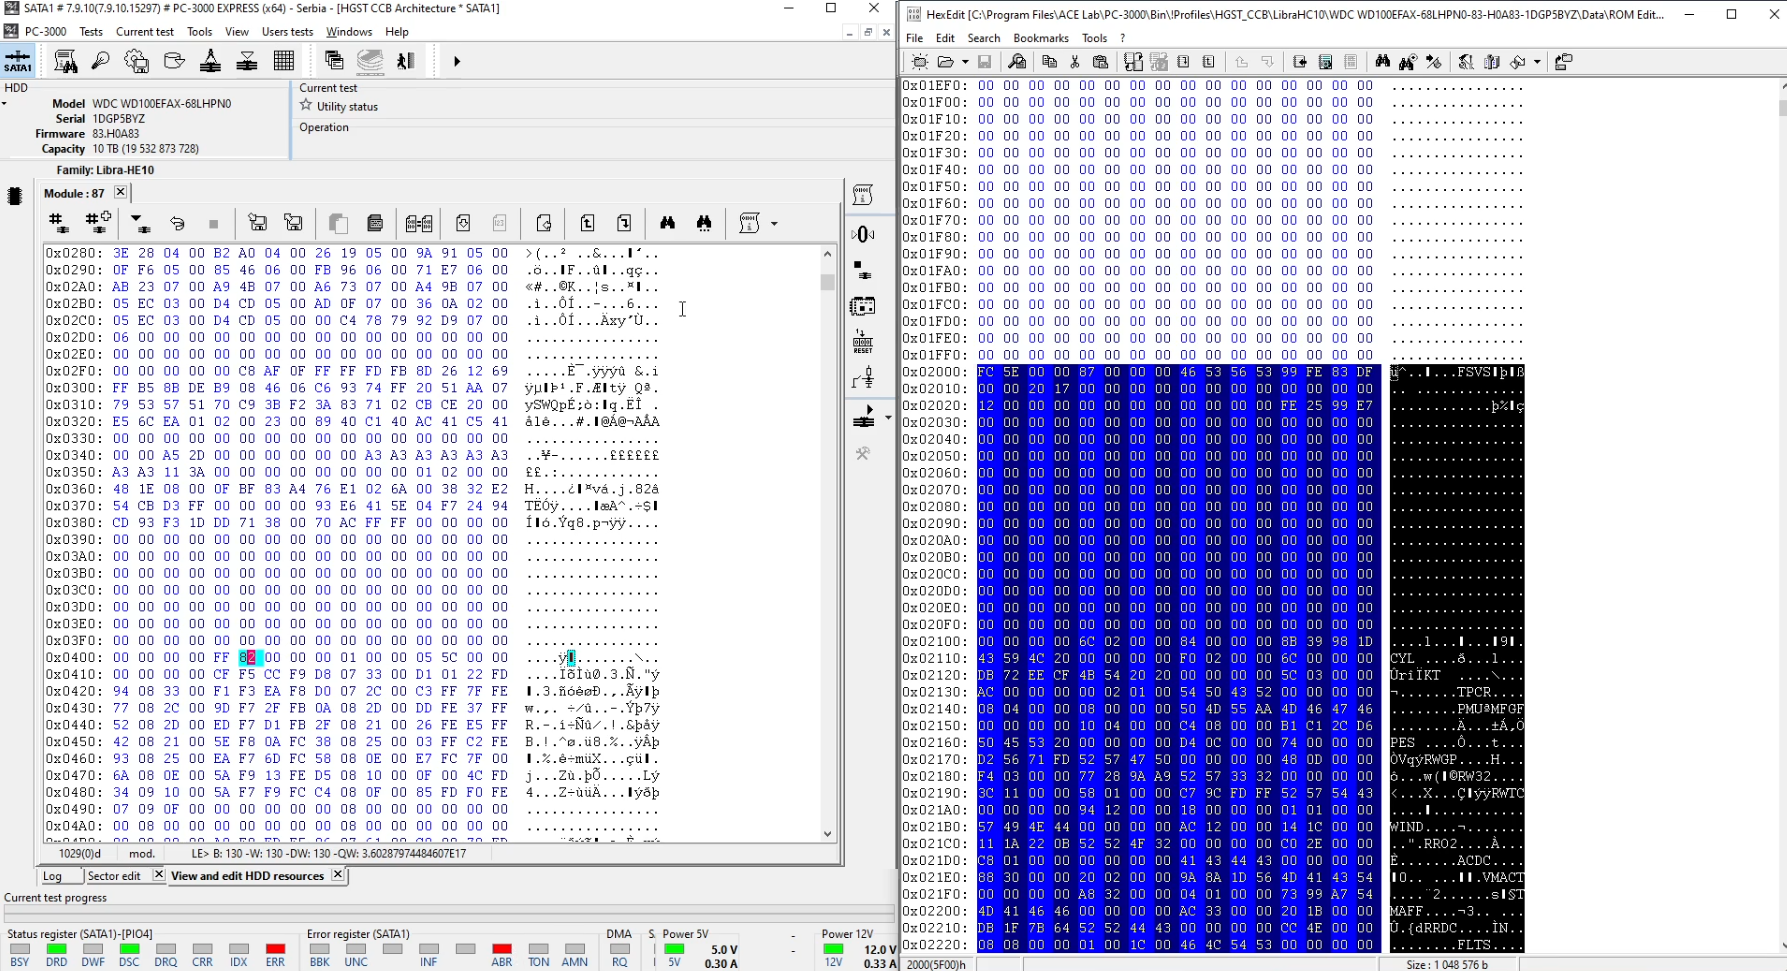
We open the Profile folder, where we already have the ROM chip read using a programmer. We make a copy of the file and open it. The idea we followed was to prevent the FW from being loaded into the drive, something similar to changing the region on WD drives. We search for “EyeCatcher=FSVS” in module 87. We select the module content and copy it into CCB Utility. We check the checksum and look for the byte value that we need to change. After making the modification, we recalculate the checksum. This byte will allow the drive to spin up without loading the FW from the SA.
In this state, we can issue the Tech ON command to the drive and access the RAM memory. We copy the modified content of module 87 back into the file, save it, and write it back to the ROM chip using the programmer. After that, we start the drive, but we still do not have Tech ON access. To obtain it, we need to Enable PUIS. After that, we have Tech ON access and can access the RAM memory.
Step 3 – Finding the Modified Byte in RAM Memory
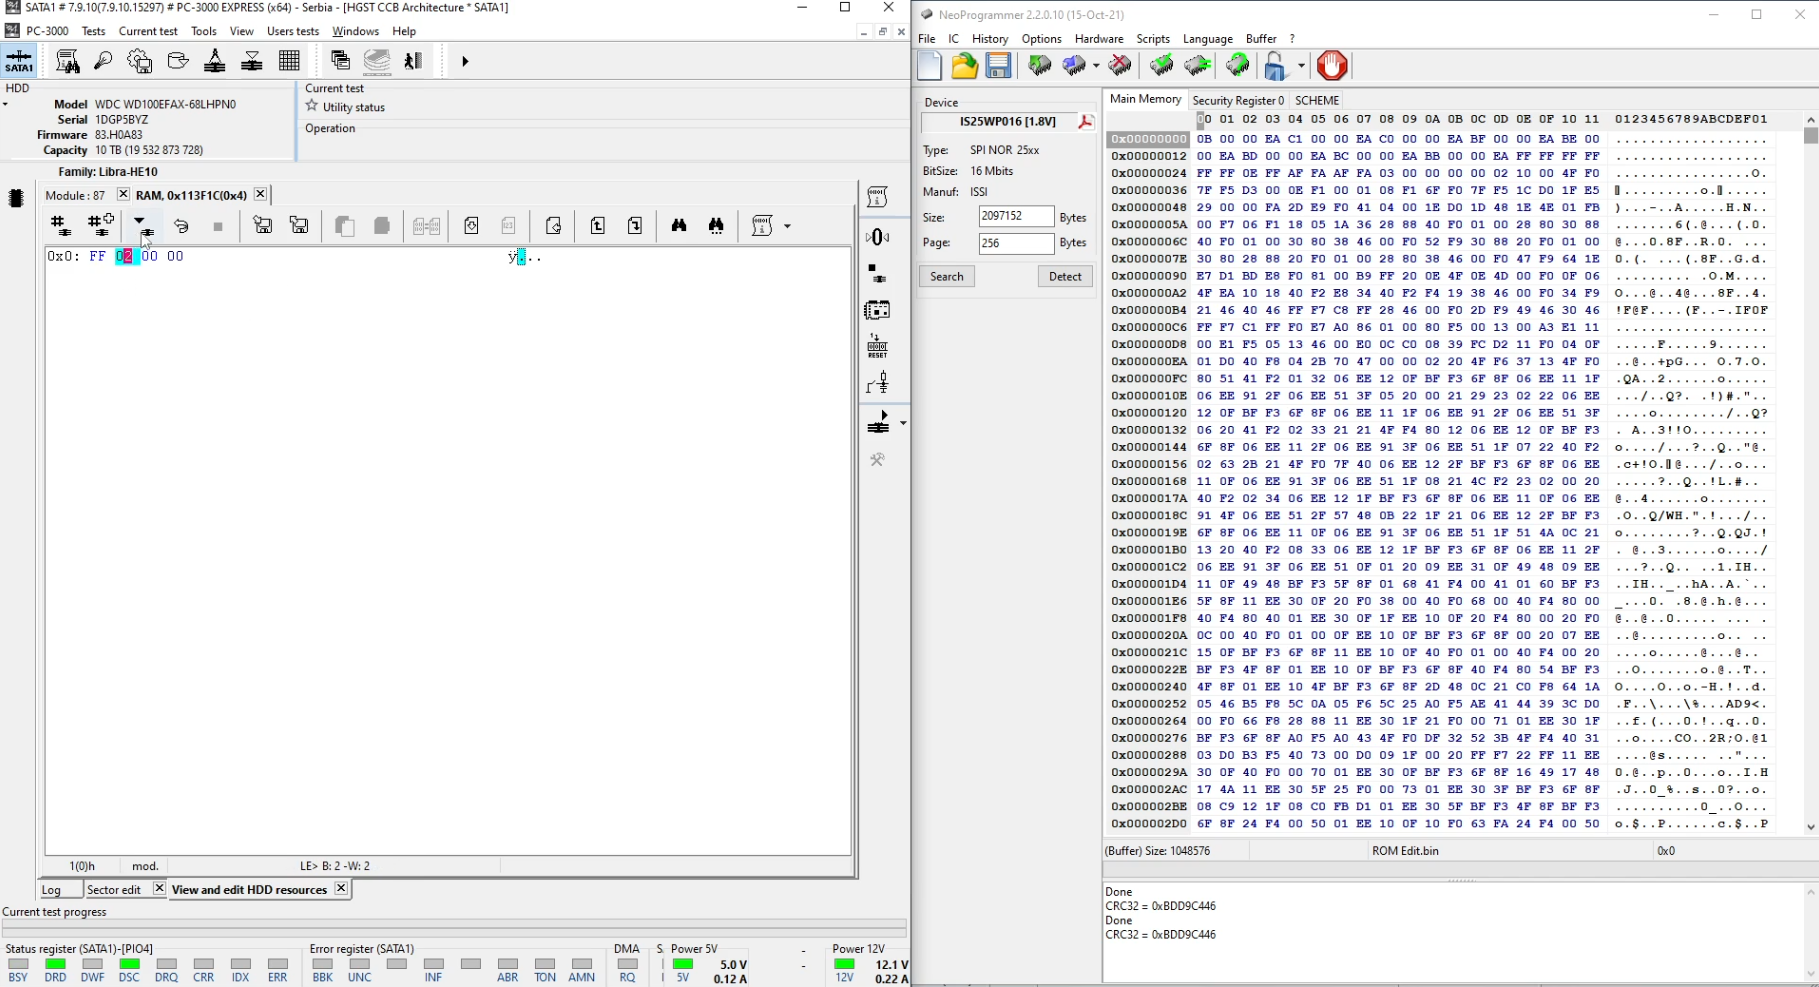
We open the RAM content at the following address:
Address: 0x00110000
Size: 0x8000
We search the content to find the byte that we previously modified in ROM module 87.
Once we find it, we copy the offset of those bytes and open only their address.
The values need to be restored to their original state so that the drive can calibrate and load the FW from the SA.
Step 4 – Modifying the Module Table in RAM Memory
We are almost there ☺. One more modification needs to be made in the RAM memory. At the following address:
Address: 0x20100000
Size: 0x10000
we search for the module table. We are specifically interested in the module table in the SA. Again, we will copy the offset of the beginning of the
table and open only that table.
We need to find module 37 with “EyeCatcher=DIR2”. We will modify its ID so that the drive does not load it and interrupt the boot process.
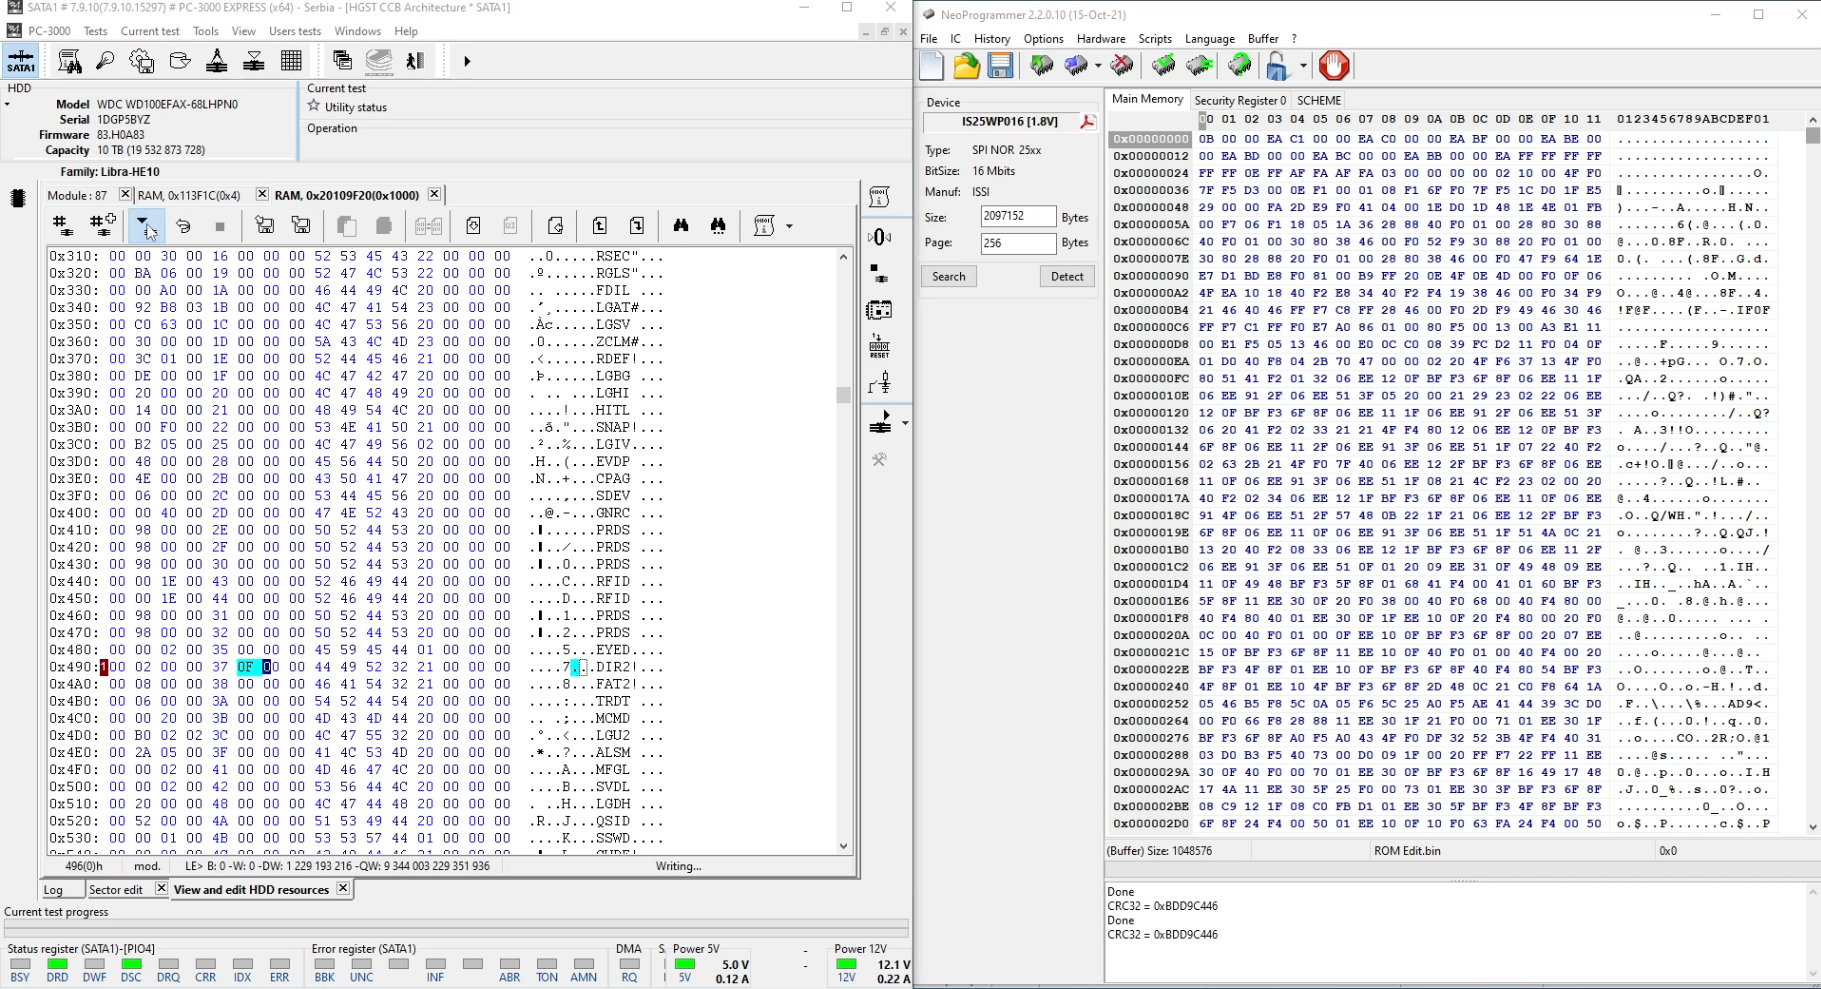
Step 5 – Start Unit
After that, we issue the “Start Unit” command. This gives us access to the Service Area, but does not load the part of the FW responsible for
disabling ATA access. We can make a backup of all modules, and most importantly, we can modify the content of module 6E with “EyeCatcher=SED”,
which stores information about the set passwords.
At offset 0x6A, we change the value 0x05 to 0x01. The value 0x01 tells the drive that the ATA password is not set.
We recalculate the checksum and write the module to the SA.
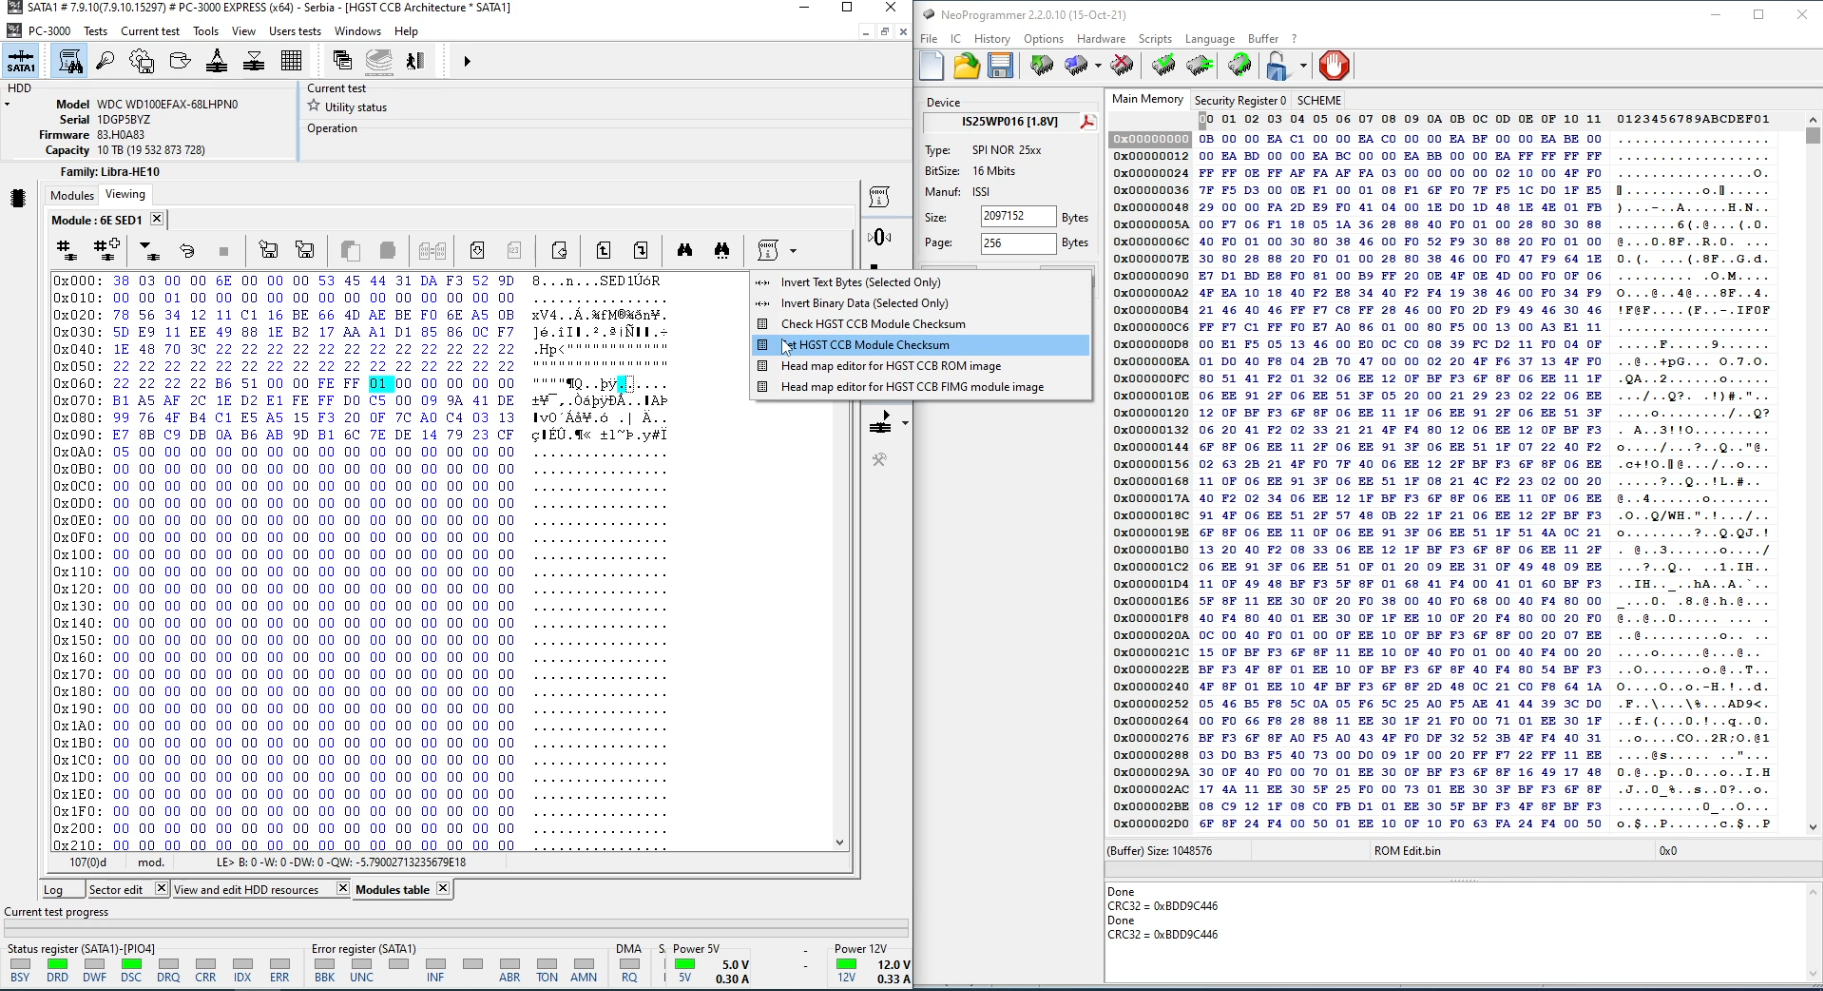
Step 6 – Continuing the Boot Process
After that, we can allow the drive to continue with the Boot Process by restoring the ID of module 37 to its default value in the module table in RAM.
The “Start Unit” command continues the boot process, and the drive loads the rest of the FW from the SA.
The drive has loaded our modified 6E module, and the ATA password is no longer set.
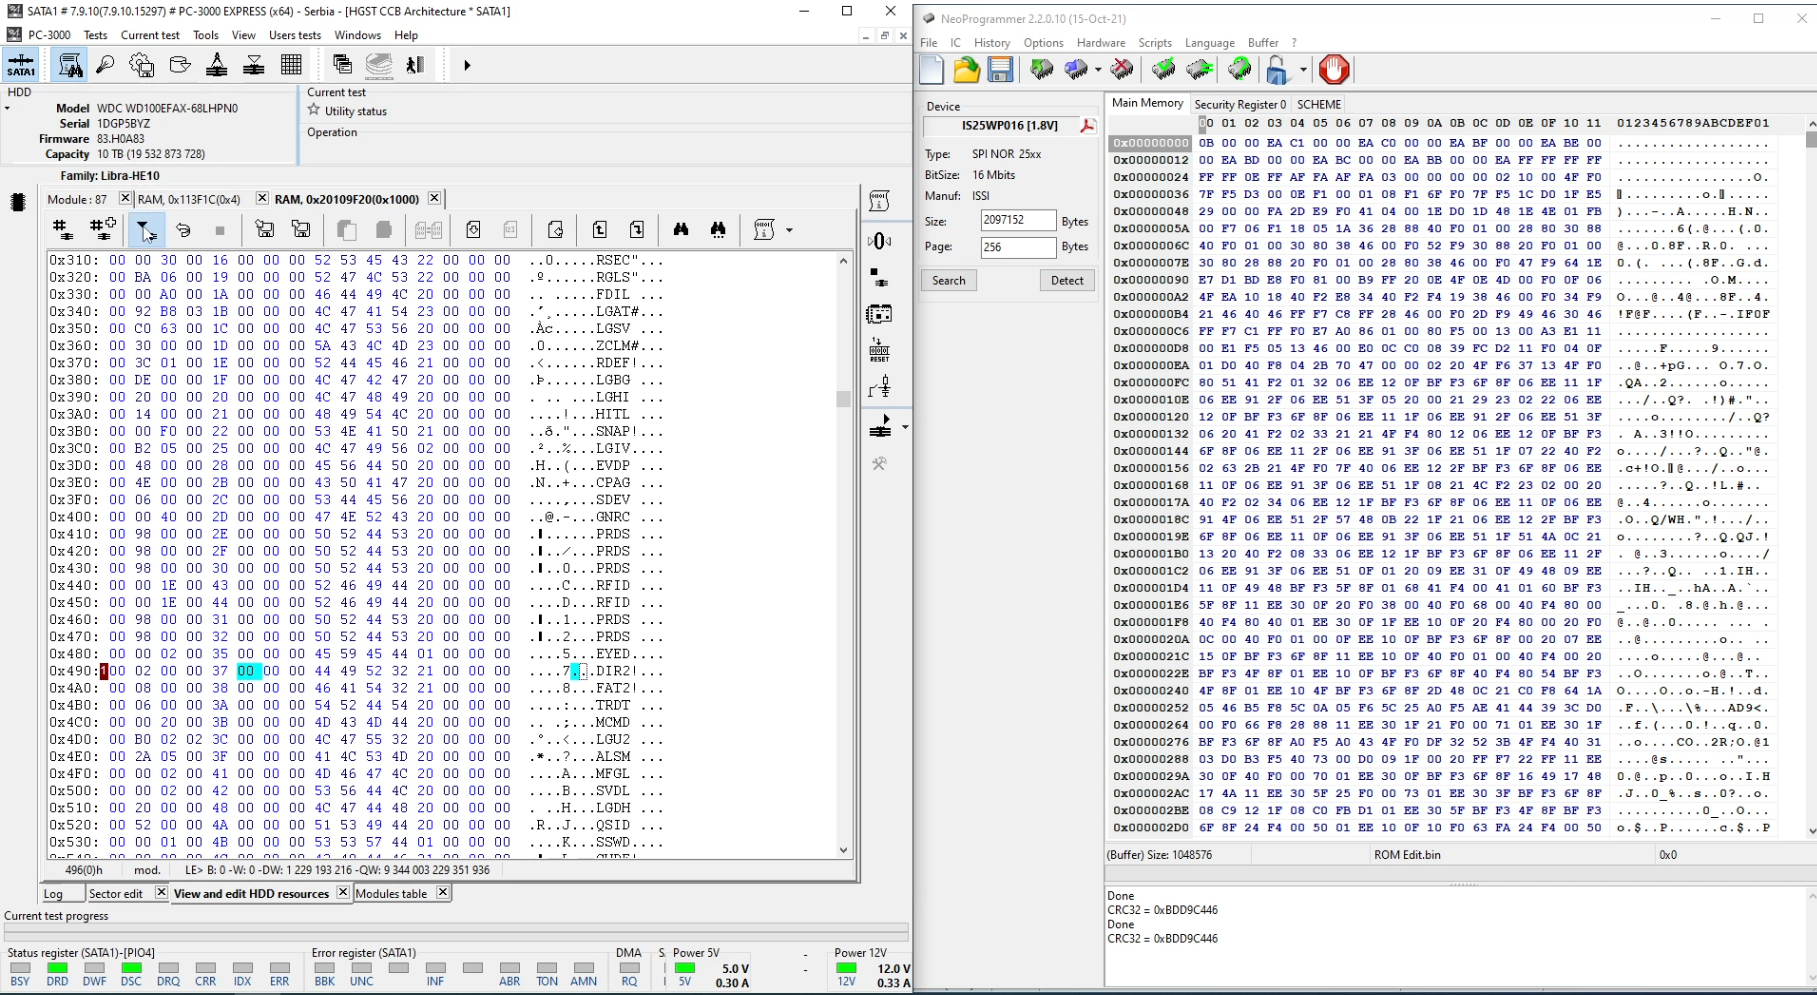
Conclusion
We can access the LBA and FW.
After this step, we proceed with cloning, analysis, and creating a data list.
This solution represents a unique approach to solving FW-related problems which, we hope, will lead to many other improvements related to the helium drive cloning process, which currently represents the greatest challenge in data recovery.
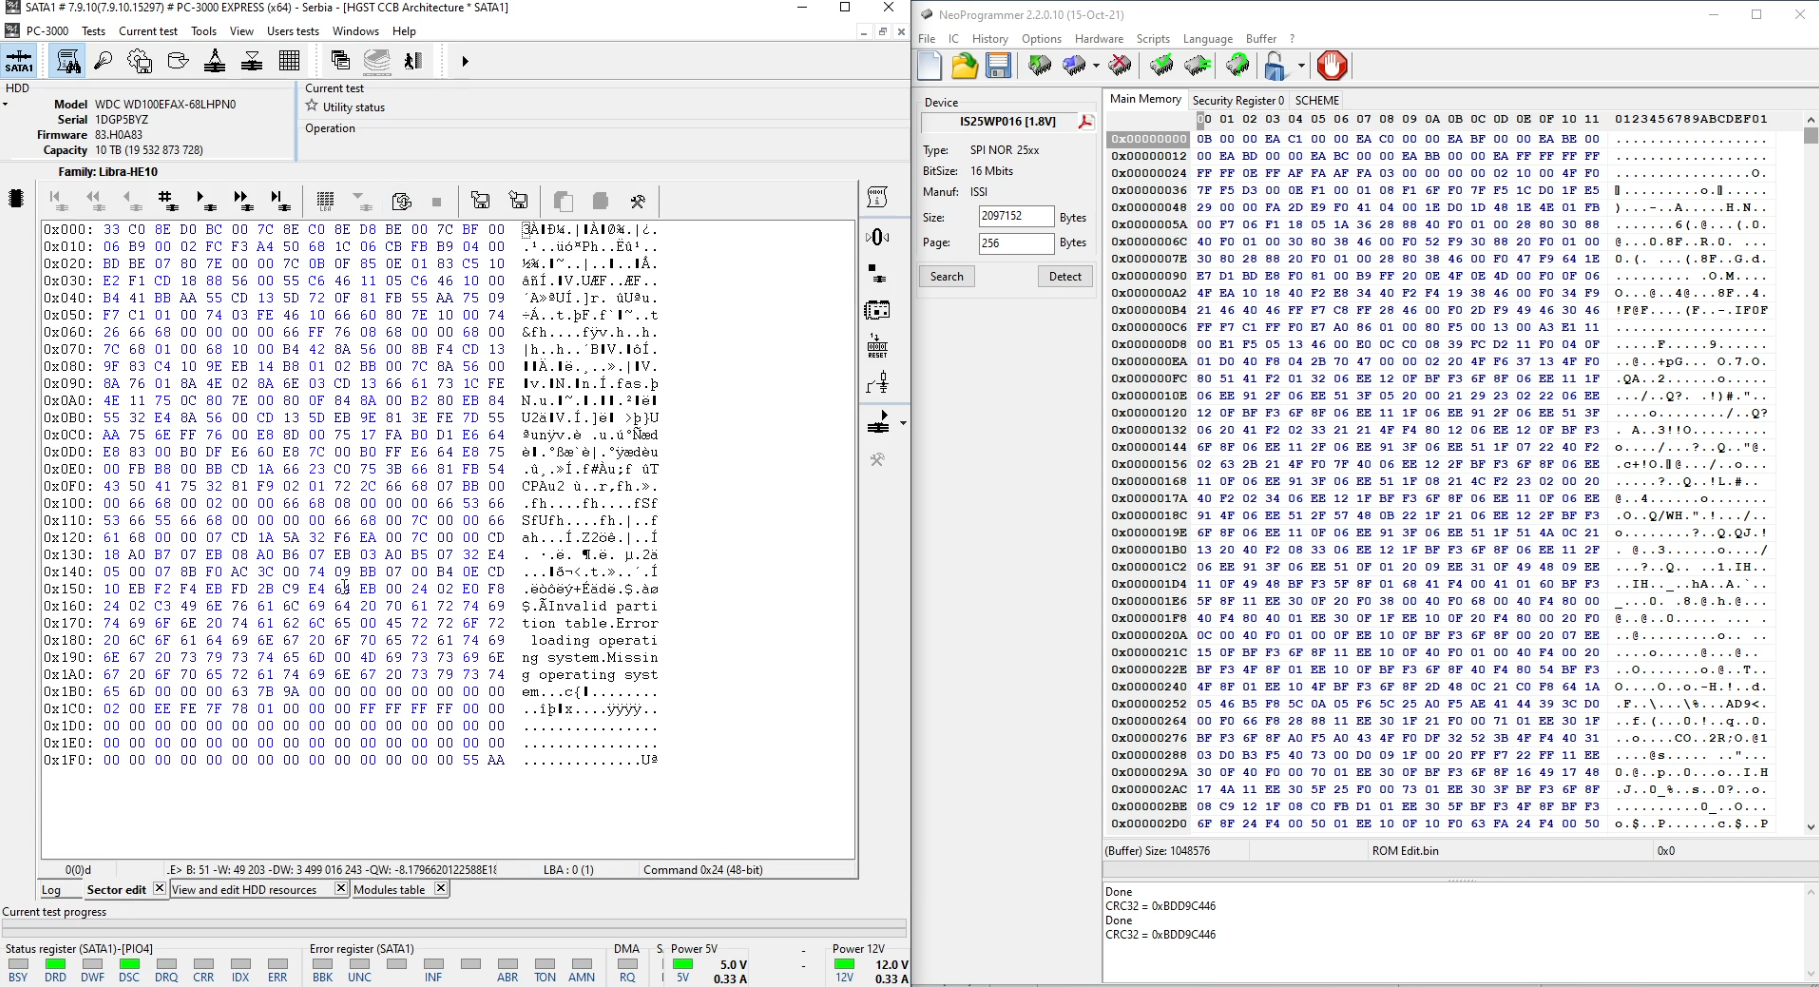
Marko Jovanović
HelpDisc Data Recovery
Belgrade, September 2026.

SanDisk SSD PLUS 480 GB with firmware issue – HelpDisc data recovery
We received a 2.5’’ SATA SSD – SanDisk […]

When Refurbished Drives Fail: Inside an I.NORYS NAS HDD
We recently received a hard drive from a […]

A Case Study of Seagate ST16000NM001G Data Recovery
We had another Seagate helium-filled hard drive data […]

Helium hard drive data recovery is no laughing matter
Recently, a Seagate IronWolf Pro ST12000NE0008 12TB helium-filled […]

First in the world! Seagate Helium data recovery service
Dear clients,
On this occasion, we would like to […]

Do you need
data recovery?
Many years of experience in the field of data recovery and more than 11,000 satisfied clients guarantee the quality of our services. HelpDisc data engineers use modern software and tools that we have developed ourselves within the HDDSurgery brand. If you have a problem with lost data, write to us or fill out online request.